Tutorial 6: Plan, Set up & Run your Campaign
Is it better to run an automated or manual campaign?
Short answer: it depends on your volume of prospects and your preferences.
Reasons to run a manual campaign:
- You want to maintain full control over exactly when each message is sent to whom
- You do not want to pay any subscriptions for automation tools
- You enjoy working on early stage prospecting activity
- Your prospect-to-close cycle is short and requires only one or two touchpoints
Reasons to run an automated campaign:
- You have a high volume of prospects
- You do not have time to do everything manually
- You want to nurture a continuous stream of prospects while you focus on delivering your product/service
- Your prospect-to-close cycle can be anywhere between days to months
- You enjoy watching stats/data and using it to improve your future efforts
- You'd like to bring warmed-up prospects into other tools (e.g. a CRM) automatically
If you're going to run a manual campaign, you can use LinkedIn as normal and you do not need to complete this tutorial.
This tutorial is going to walk you through how to set up and run an automated campaign, step by step. You can follow along as you go, to set up your campaign.
Prerequisites to running a campaign
You'll need to have the following things prepared in order to set up and run your campaign:
- A list of prospects you're going to target in this campaign (please see Tutorial 4 if you need help with this)
- The messages you're going to send these prospects (please see Tutorial 5 if you need help with this)
- The steps you want the campaign to perform (we recommend these steps for you within this tutorial)
- A subscription to a campaign execution tool (we are going to use Skylead in this example)
- A LinkedIn Sales Navigator subscription
The example campaign we'll set up
The example campaign we'll set up is going to follow our recommended sequence. We already recommended this sequence in Tutorial 5, as the sequence you design determines the types of messages you should prepare.
The sequence will be as follows:
- View profile
- Send connection request with personalised message
- Wait for acceptance
- Just after acceptance, send a personalised follow-up message
- Wait 1 week for a response
- Send a personalised material share message
- Wait 1 week for a response
- Send a dynamic keyword 'final message for now' message
We are going to configure this sequence in Skylead for the purposes of this example, but these steps can be run from any LinkedIn automation tool. If you would like to explore more tool options and prices before you make a decision about which one to use, we have outlined all the information you need in this blog post here.
Getting started
-
Log into your Skylead account - you're going to connect it to your LinkedIn account so that it can identify prospects from your account and send messages on your behalf.
-
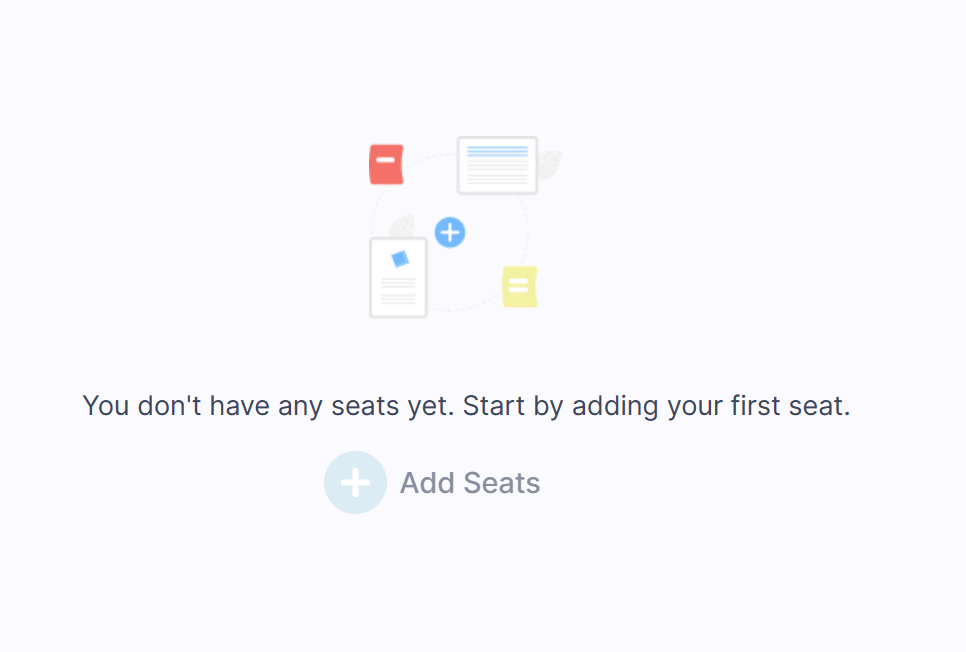
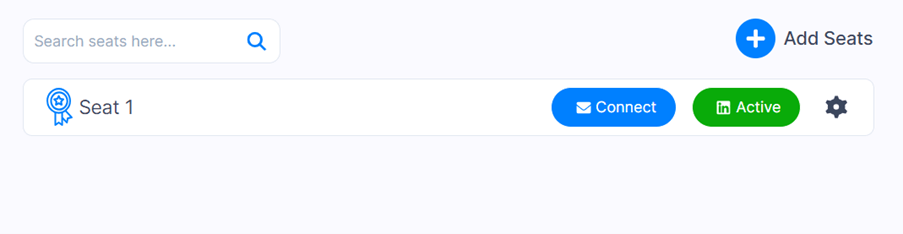
Click the Add Seats button on the right hand side of the initial Skylead homepage. Note that you will not be able to click this button if you haven't verified your account - which you do by clicking a link in an email you receive to confirm your email address.
- This is how an unverified account looks:
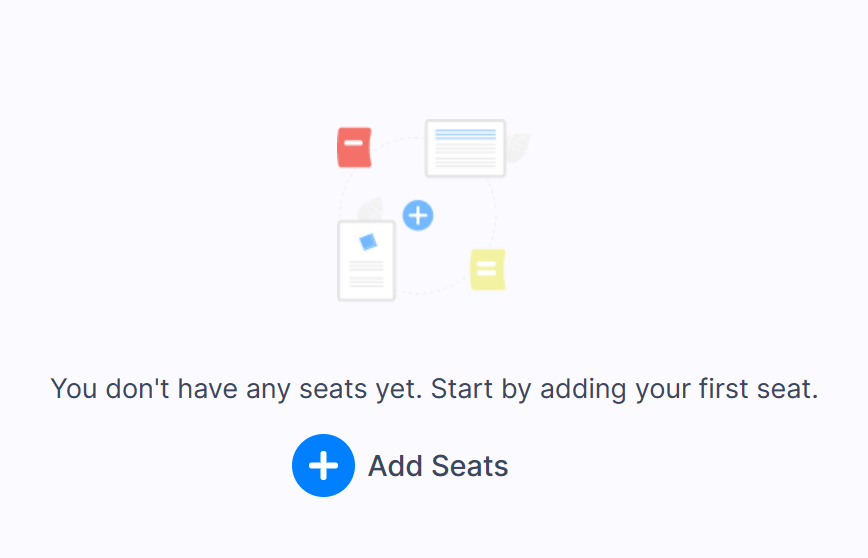
- The verified version looks like this:
-
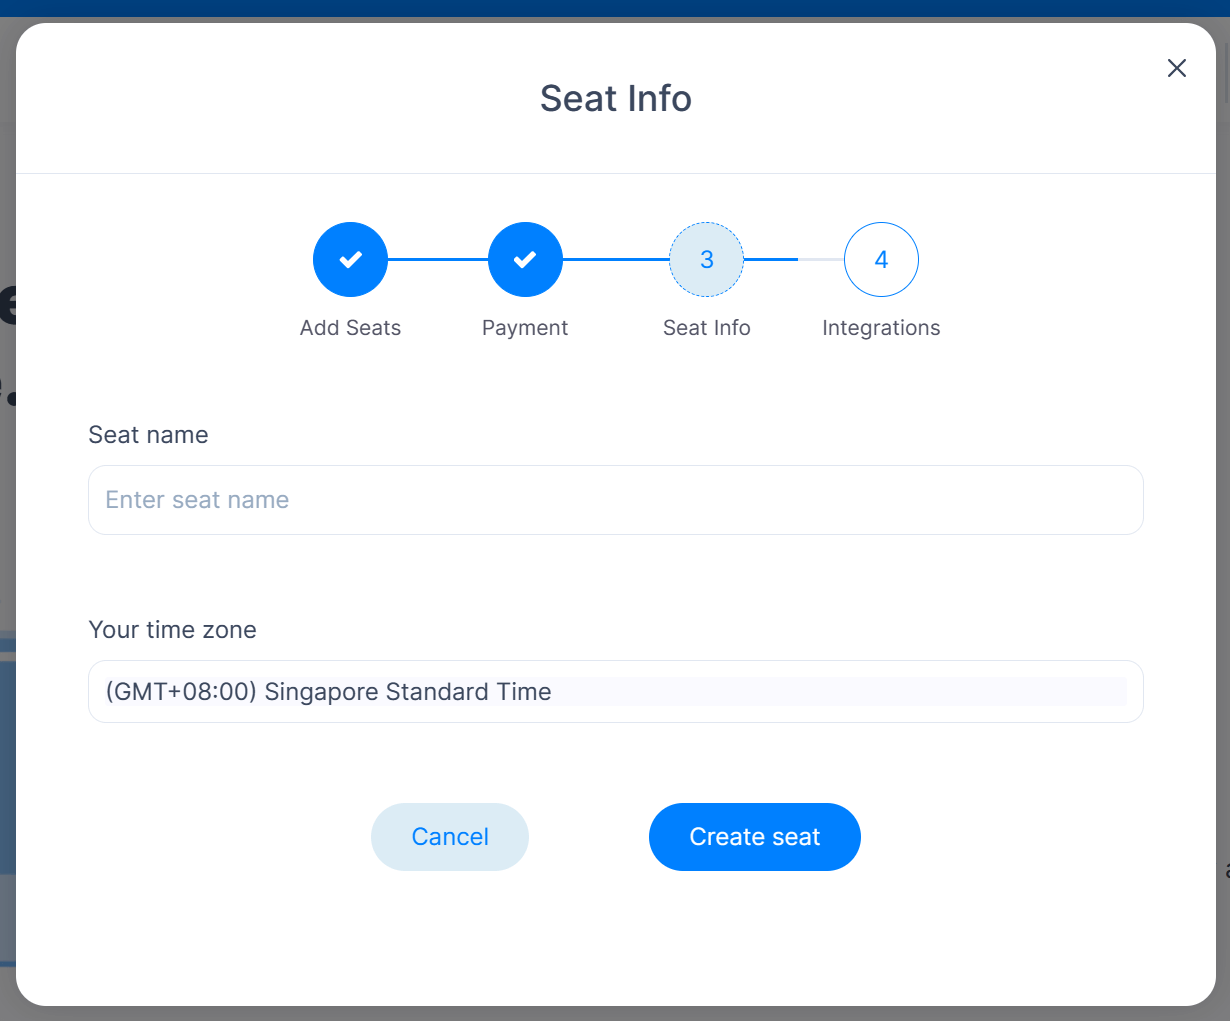
Process your payment information to start your free trial and then name the 'seat' i.e. account you're going to link to:
-
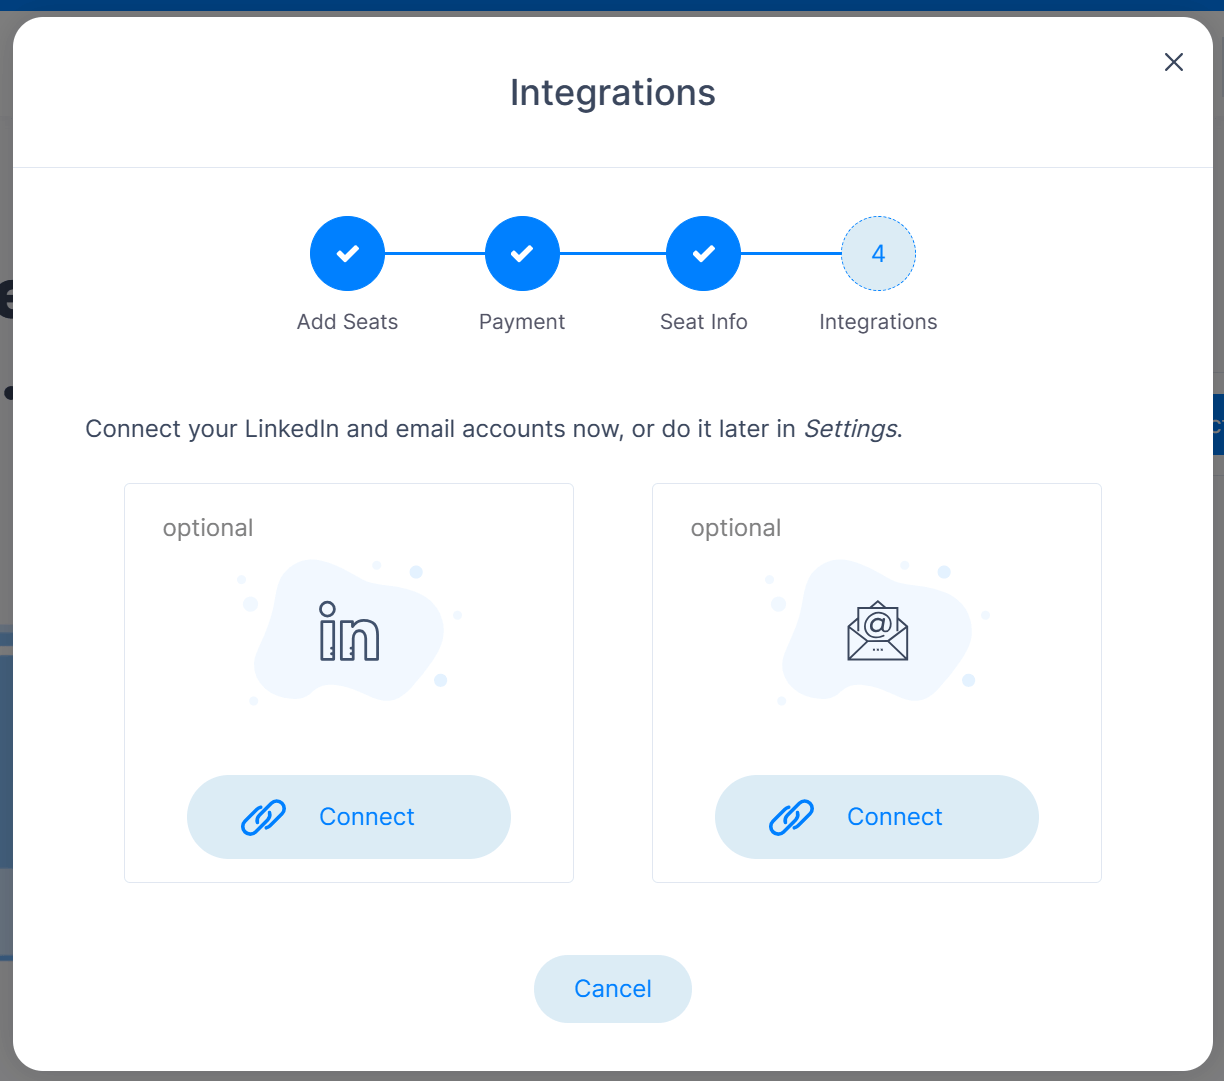
For the purpose of this campaign, choose the LinkedIn option to set up your integration. Click 'Connect':
-
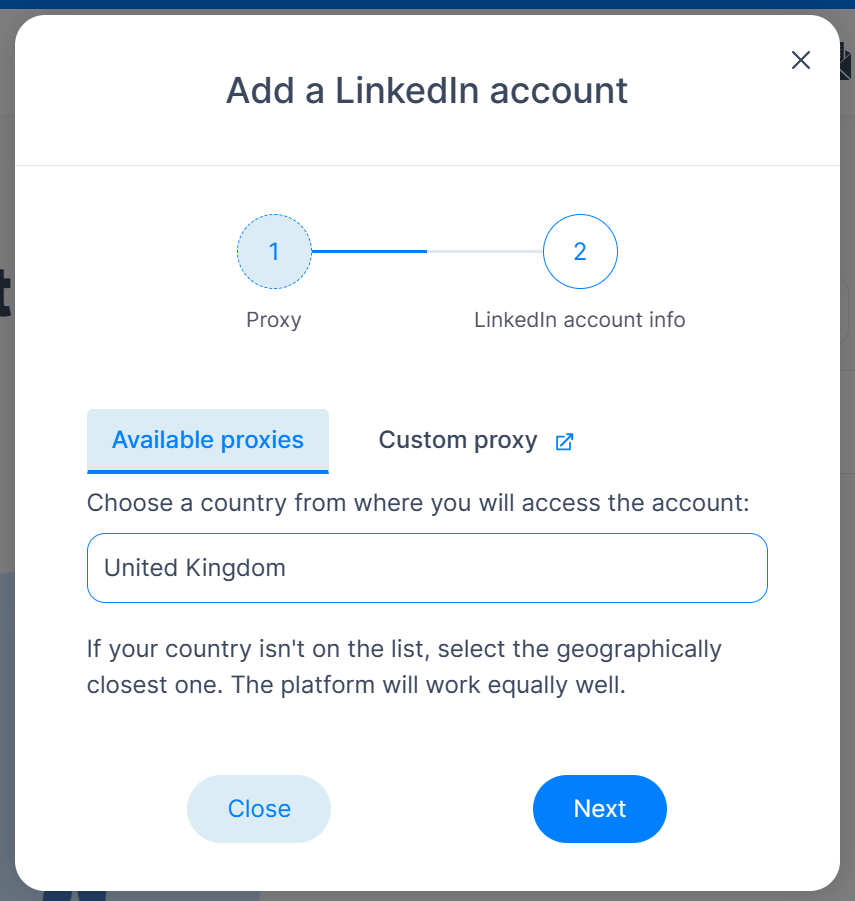
Choosing a proxy helps LinkedIn to allow access to your account, so select your home country (or more specifically, the country in which you set up your LinkedIn account):
-
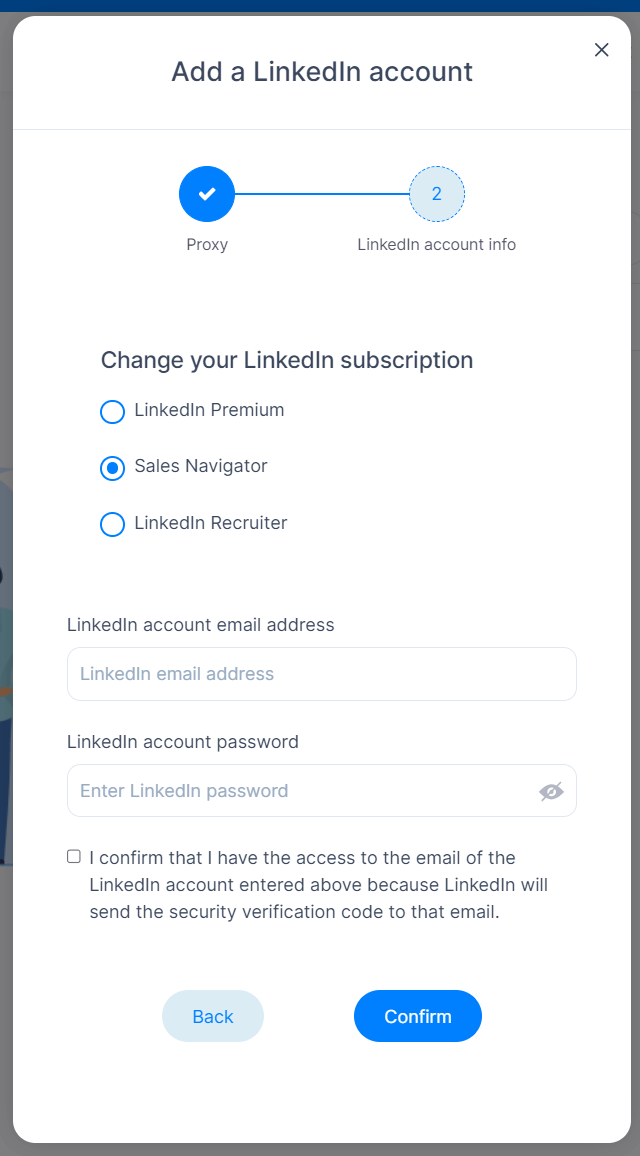
Now input your LinkedIn credentials so that Skylead is able to log into your account, ensure you choose Sales Navigator, and remember to check the box at the bottom:
-
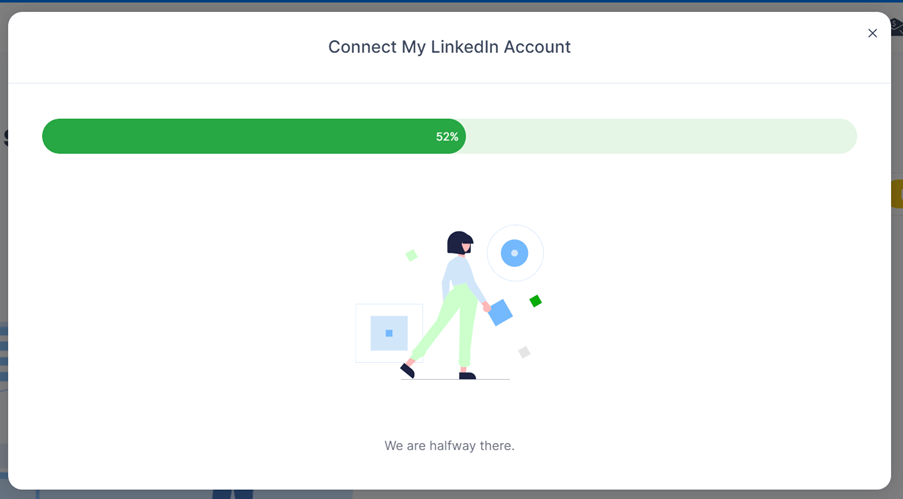
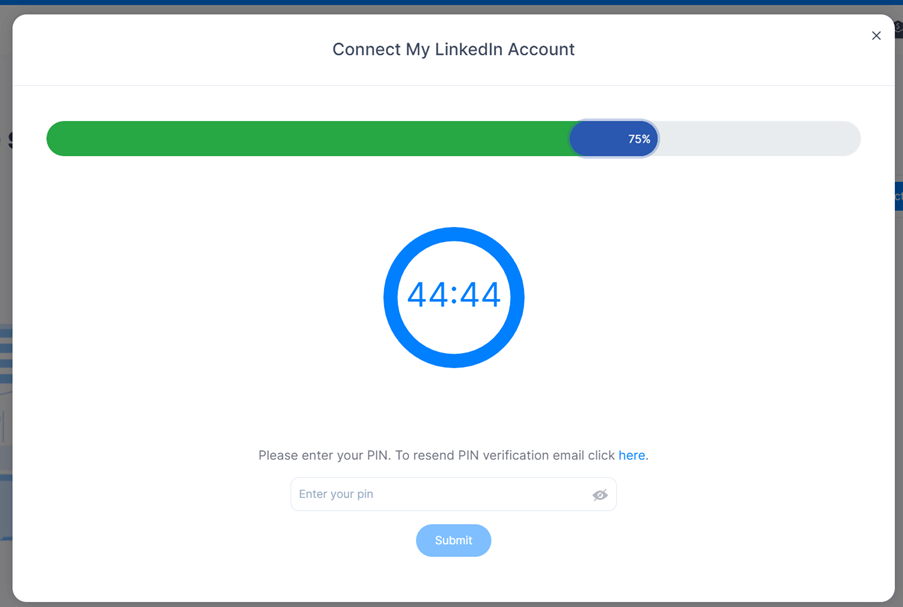
Clicking confirm will take you to this screen. You'll then receive an email with a verification pin.
-
Once you've received the email with the pin, enter it in this screen, which loads automatically after the previous one:
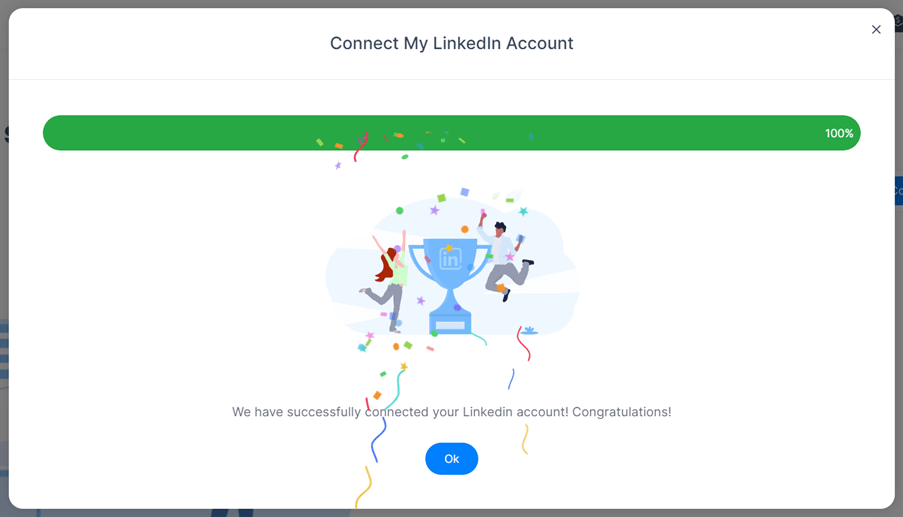
-
If you input the correct pin, you'll see this screen:
-
Clicking OK takes you back to the homepage, and you'll now see your seat connected:
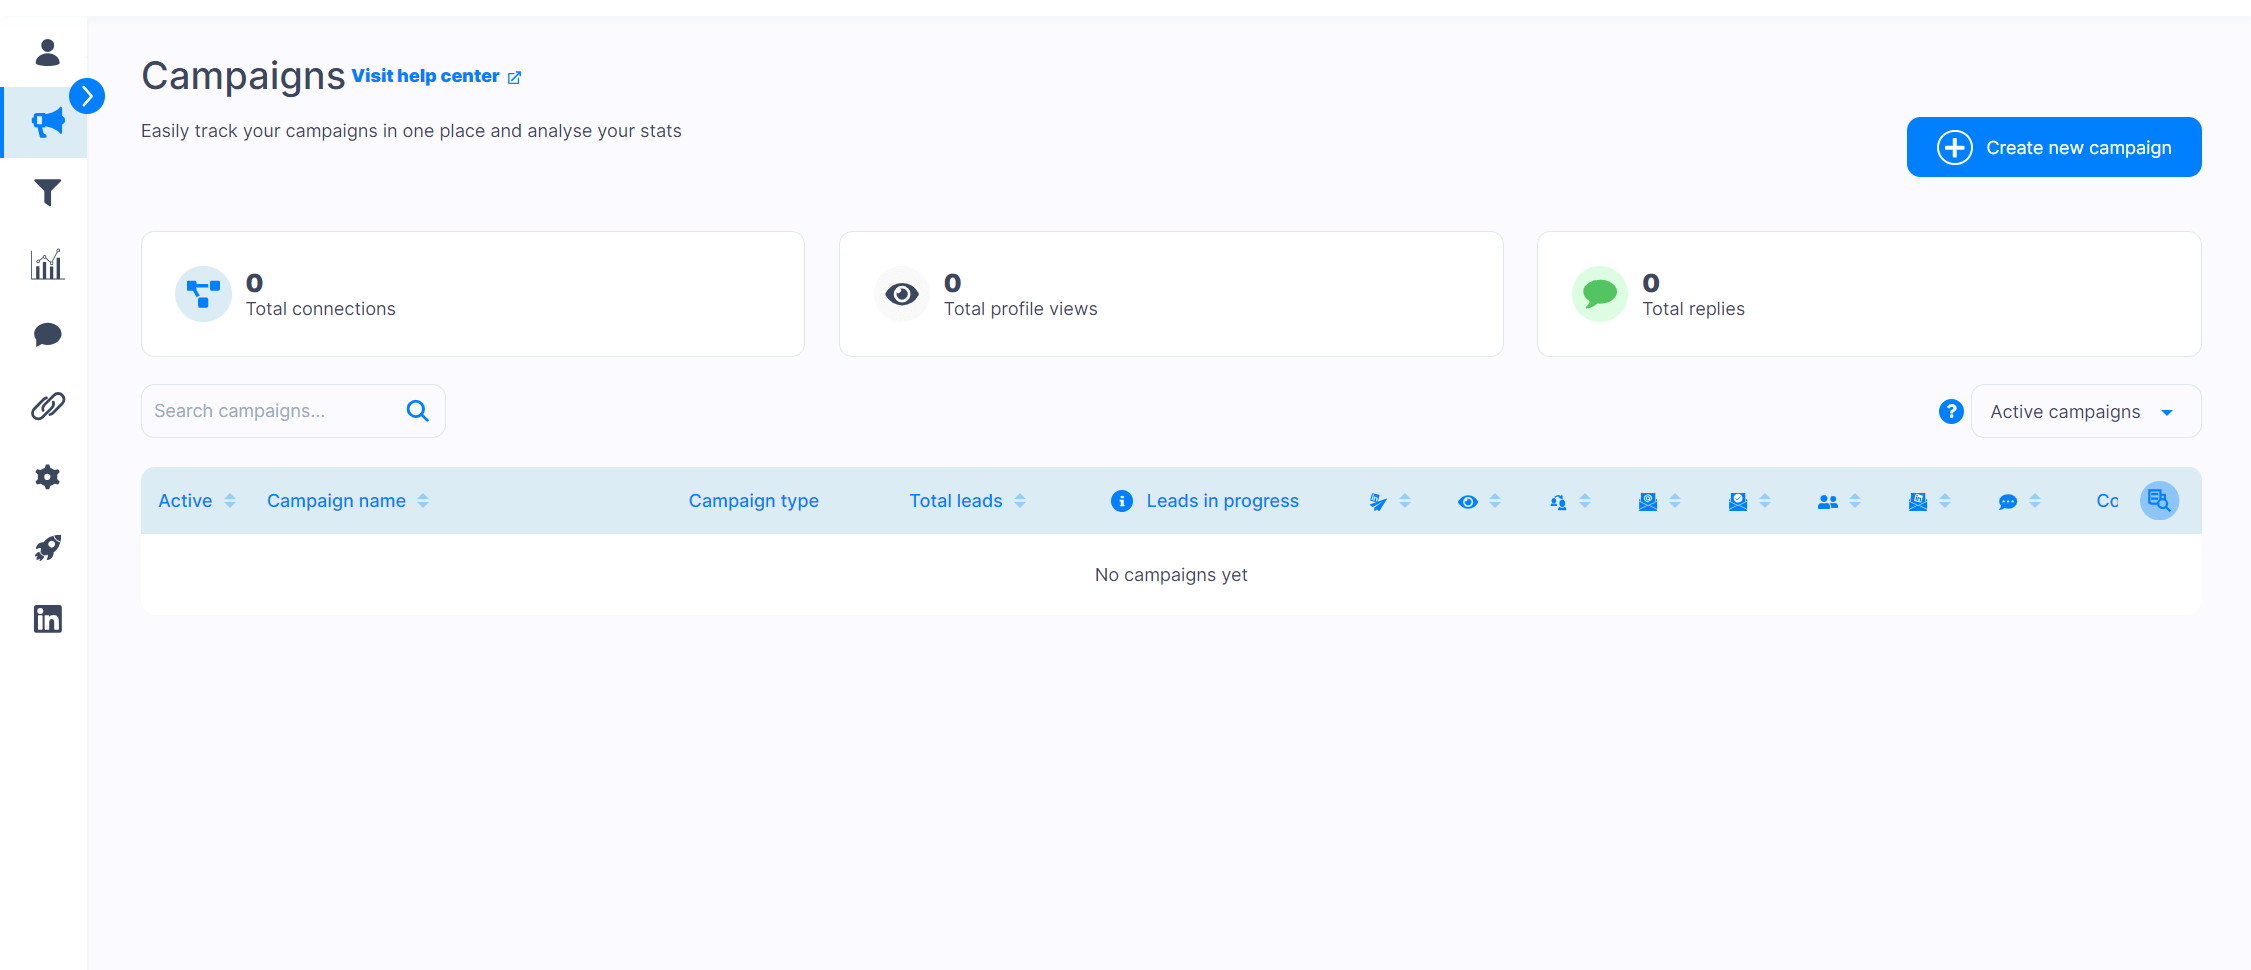
-
Opening that seat takes you to your empty campaigns page for that LinkedIn account.
-
Before you start configuring any campaigns, it's important to ensure you are happy with your foundational settings - because they will apply to all campaigns. Your foundational settings include things like working hours, timezone and volume limits - all of which help ensure that any campaign you automate from your account is run as you would run it manually e.g. sending messages during your working hours.
-
Click the settings icon on the left hand side navbar to enter your Settings page:
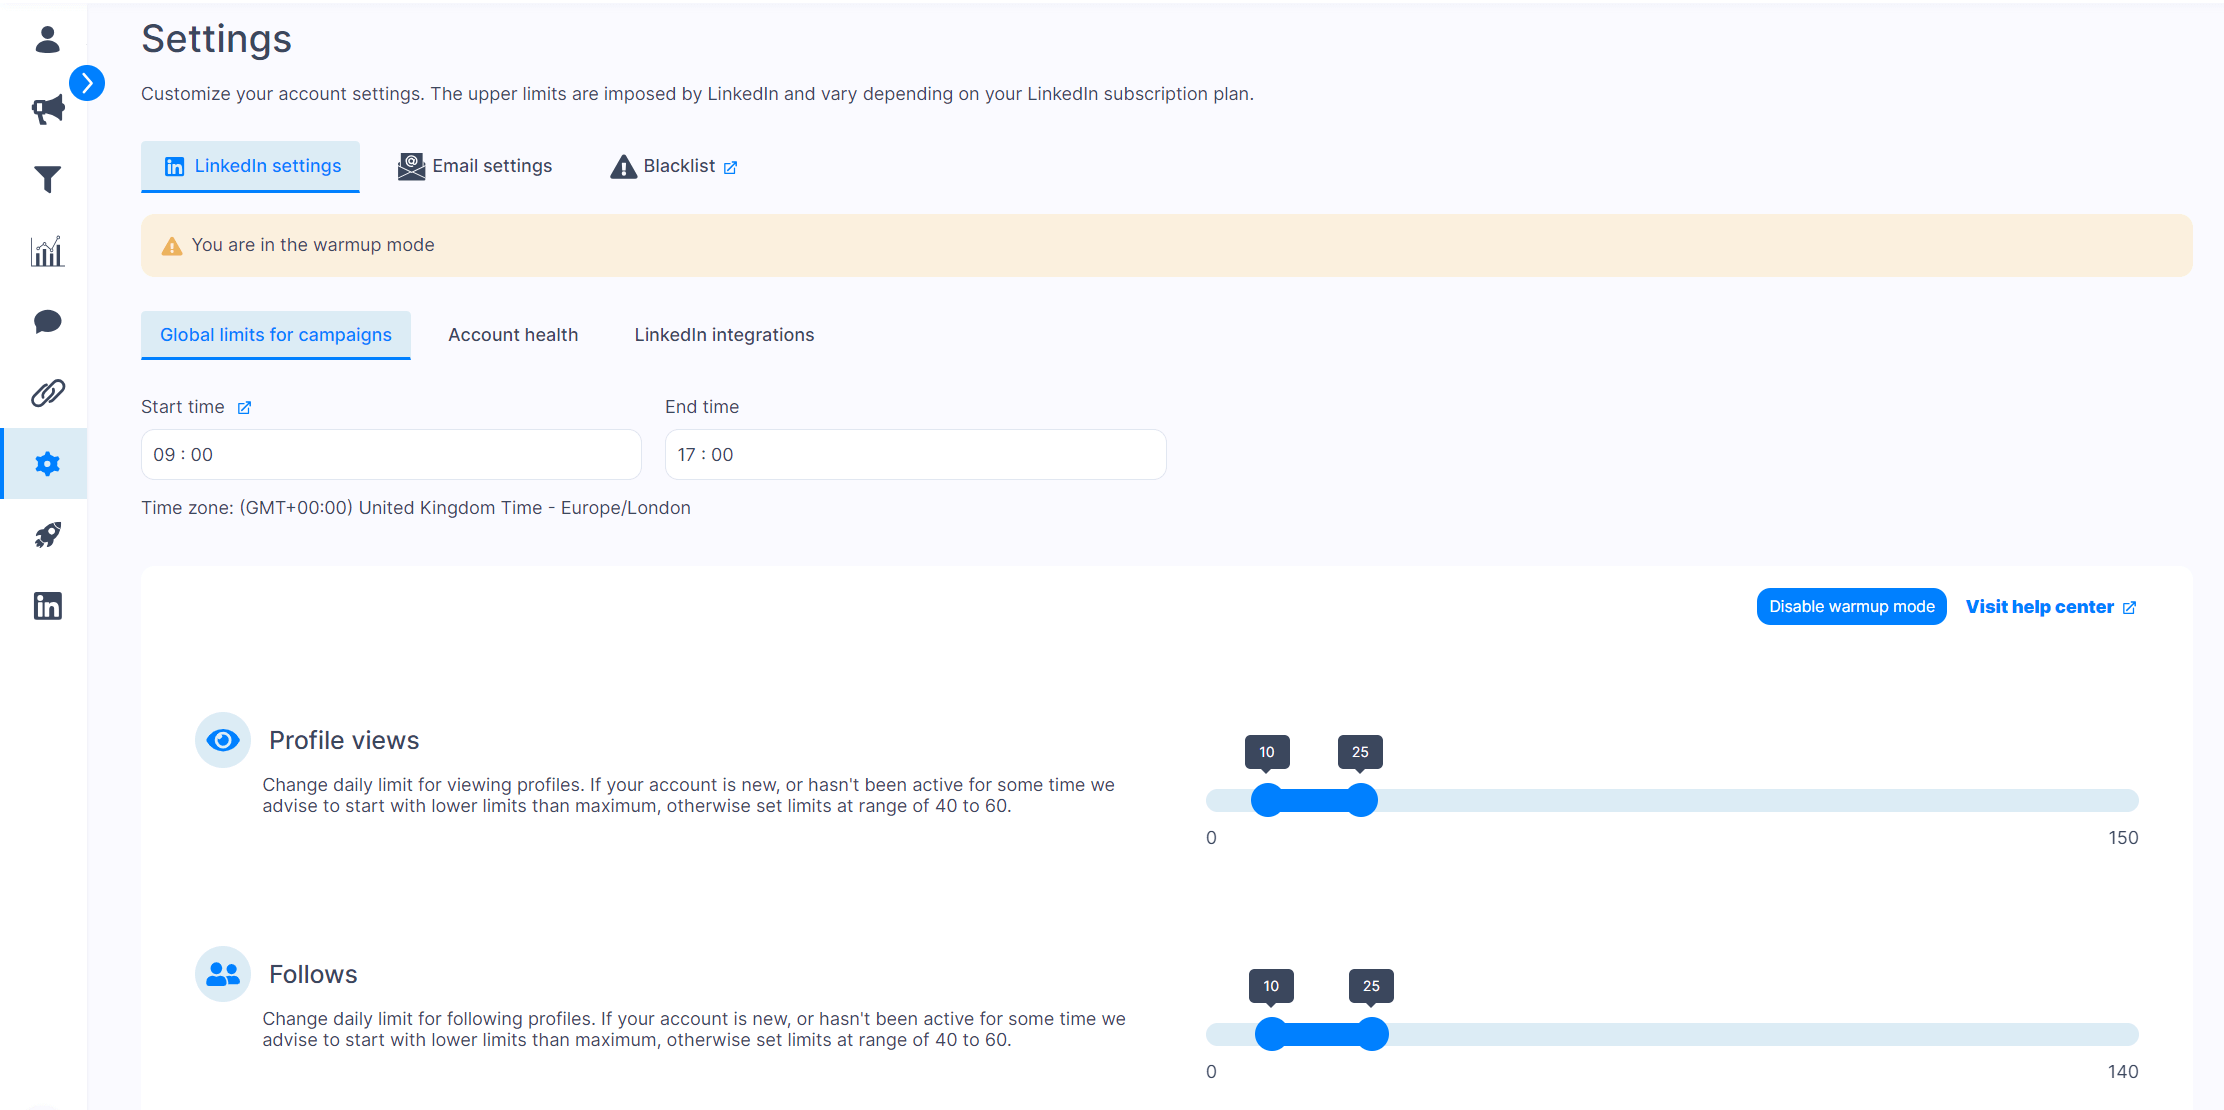
-
All settings are set to defaults. Note that warm up mode will be enabled by default as this is your first automated activity. This lowers your limits to ensure that your account is protected when it first starts to participate in increased connection and messaging activity. Do not disable warm up mode - let it run as per default. Normal mode will be automatically enabled when it is safe to be.
-
You can leave all defaults to run as they are. But if you want to lower the thresholds, you can do so. Also, if you want to change your 'working hours', then you can do so. These are the hours in which automated steps will happen. Outside of those hours, no messages will be sent, no connection requests will be sent etc. The purpose is to mimic what you would do by hand, as much as possible.
-
Once you are happy with your foundational settings, you're all set! You're now ready to start setting up some campaigns.
Setting up your campaign, step one: Loading your prospects list
-
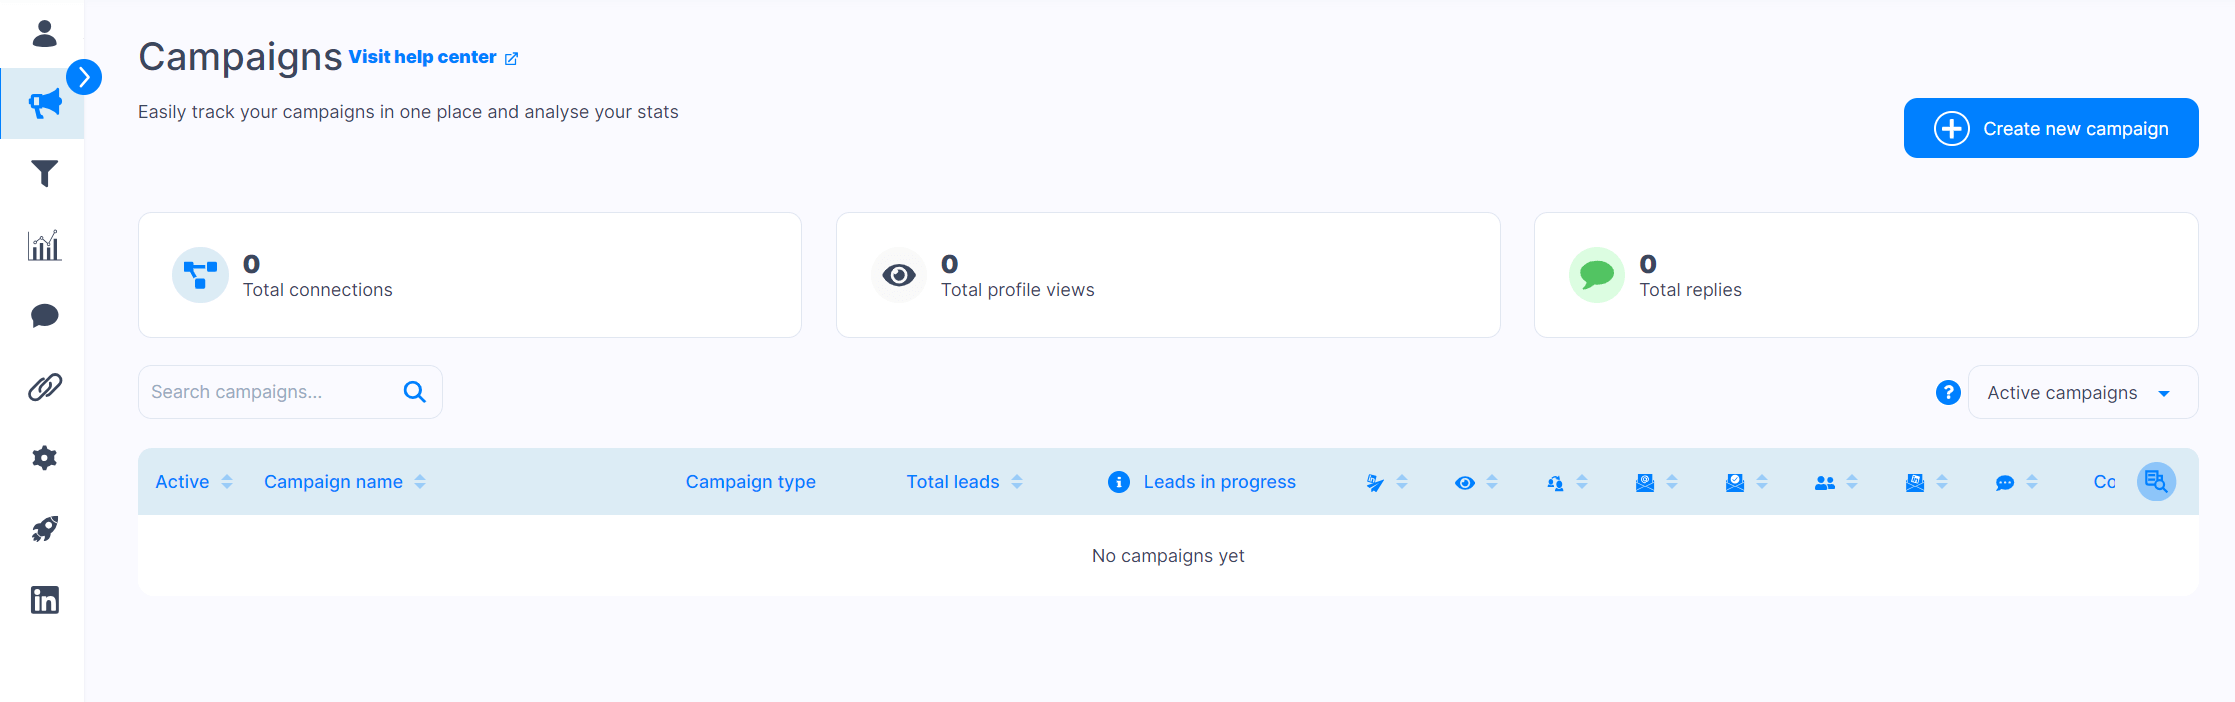
When you're ready to set up your campaign, navigate to your Campaigns tab, and click the 'Create new campaign' button:
-
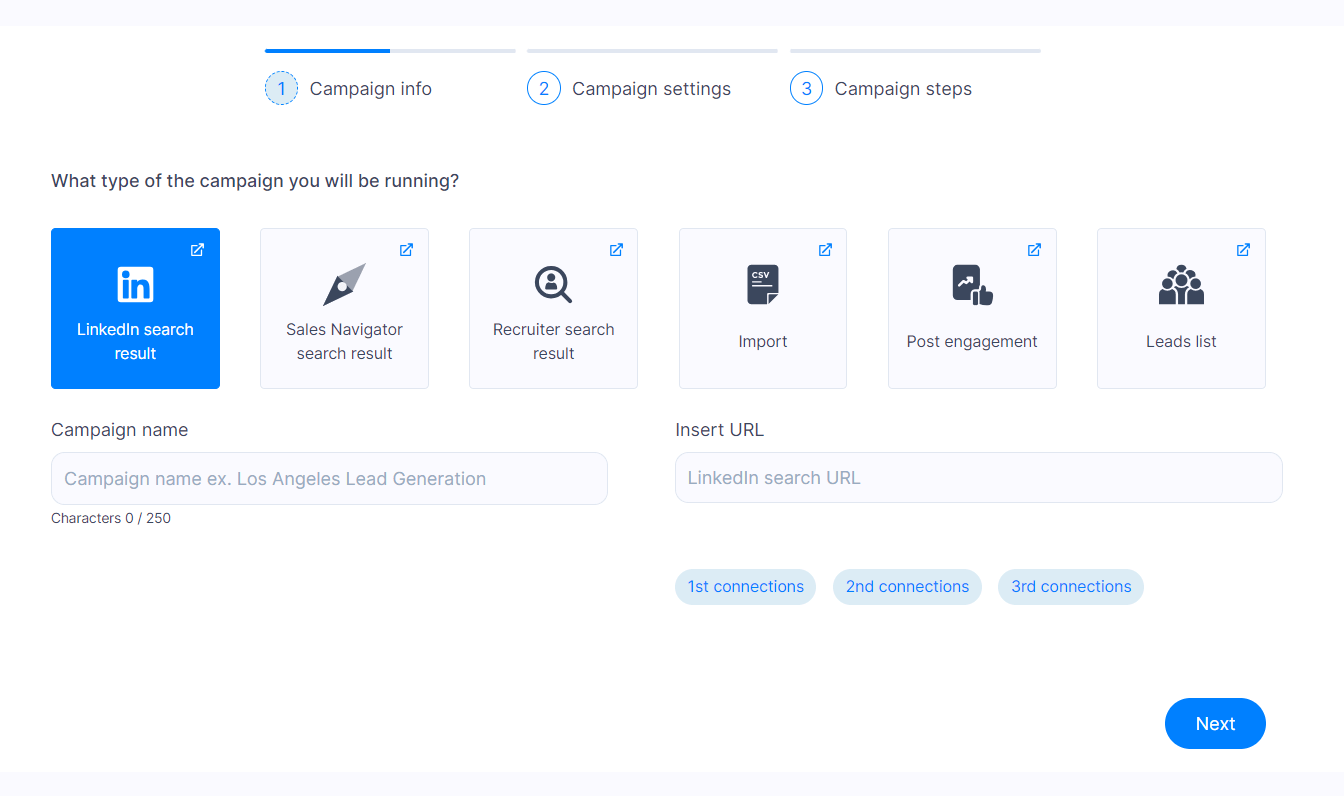
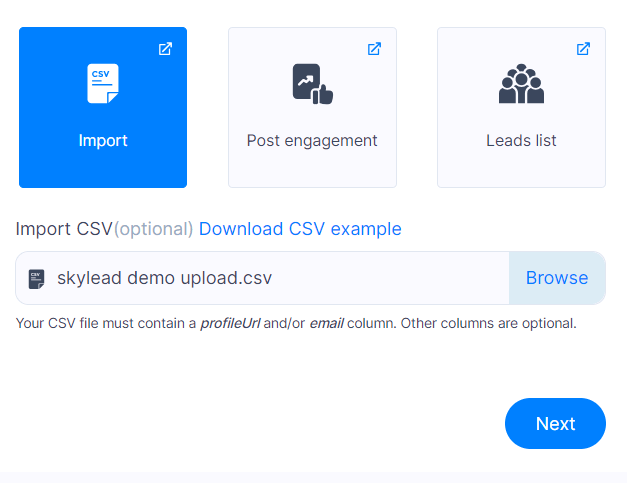
There are a number of options for how you can select the prospects that will be part of this campaign. In this tutorial, we're going to step through 3 ways:
- Import
- Leads list
- Send prospects and messages from Koneksi
-
Why you'd use each:
- You'd use the Import option if you have a csv of prospects and/or messages you want to load.
- You'd use the Leads list option if you're using LinkedIn Sales Navigator to find your prospects before setting up this campaign.
- You'd use the integration from Koneksi to Skylead if you're using Koneksi to generate your own personalised messages for your prospects.
-
Choose which option is best for you, and skip to the appropriate section below.
How to: Import
-
Select the Import option and browse for your csv file.
-
Before you click Next, ensure that your csv file's column names are named according to Skylead's terminology. Any column names that do not match Skylead's terminology will be imported as custom variables, even if the same variable already exists in Skylead. Skylead's standard variables are as follows:
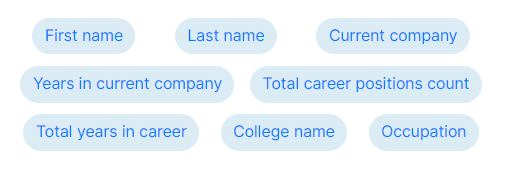
-
Clicking Next will run a check on your file, and then let you know how many of your leads will be imported:
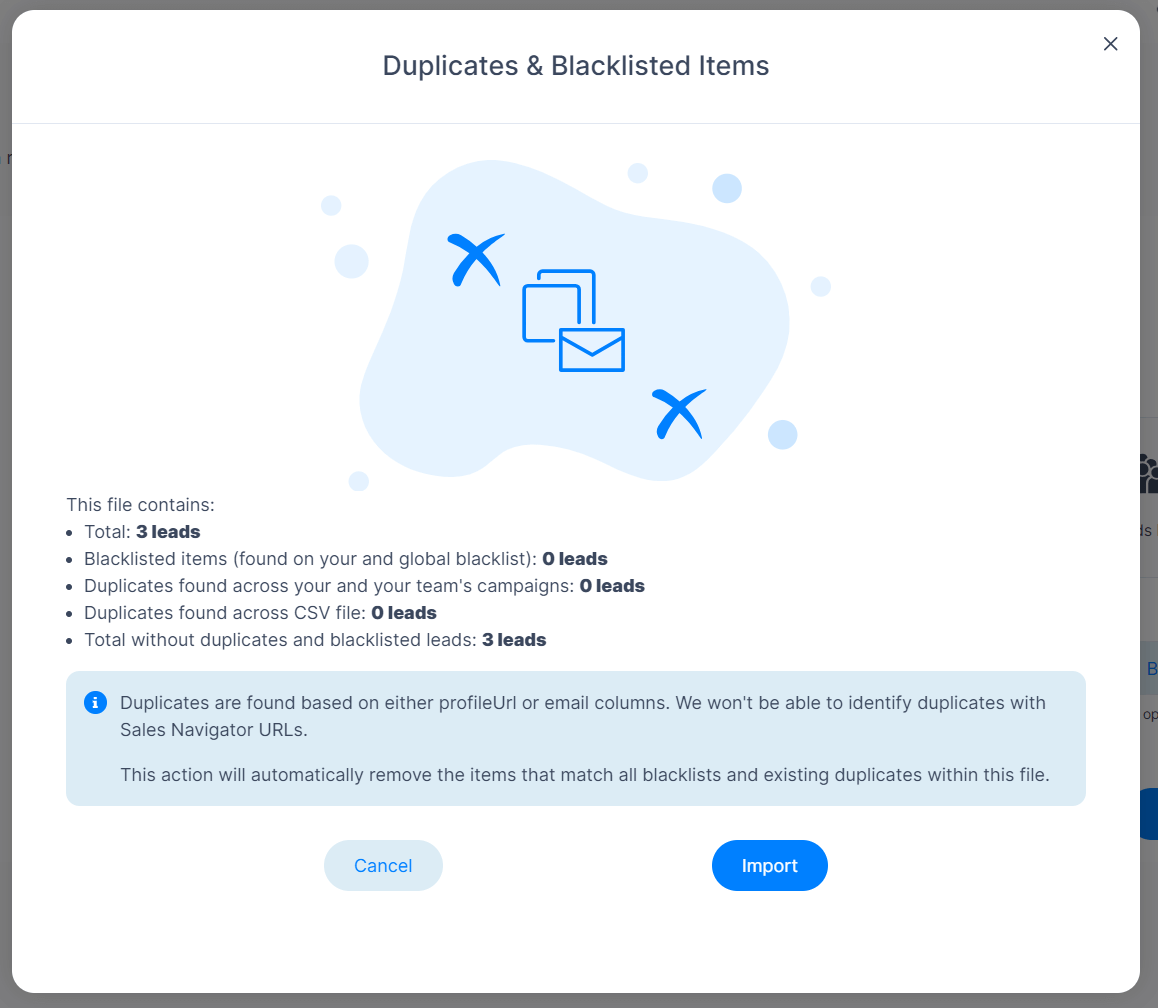
-
Your leads have been now prepared in the background. Skip now to the 'Designing your campaign steps' section of this tutorial below.
How to use: Leads List
-
In order to use a Leads List, you need to have set up and saved that List in your Sales Navigator account first.
-
Our Tutorial 4 walks through how to create a Leads List and save it - if you need a refresher.
-
If you have your Leads List ready, you can open up your Sales Navigator account and copy the URL of that list.
-
To navigate to that list, log into Sales Navigator, click the Leads tab, look at your saved Lead Lists below and then click into the appropriate one.
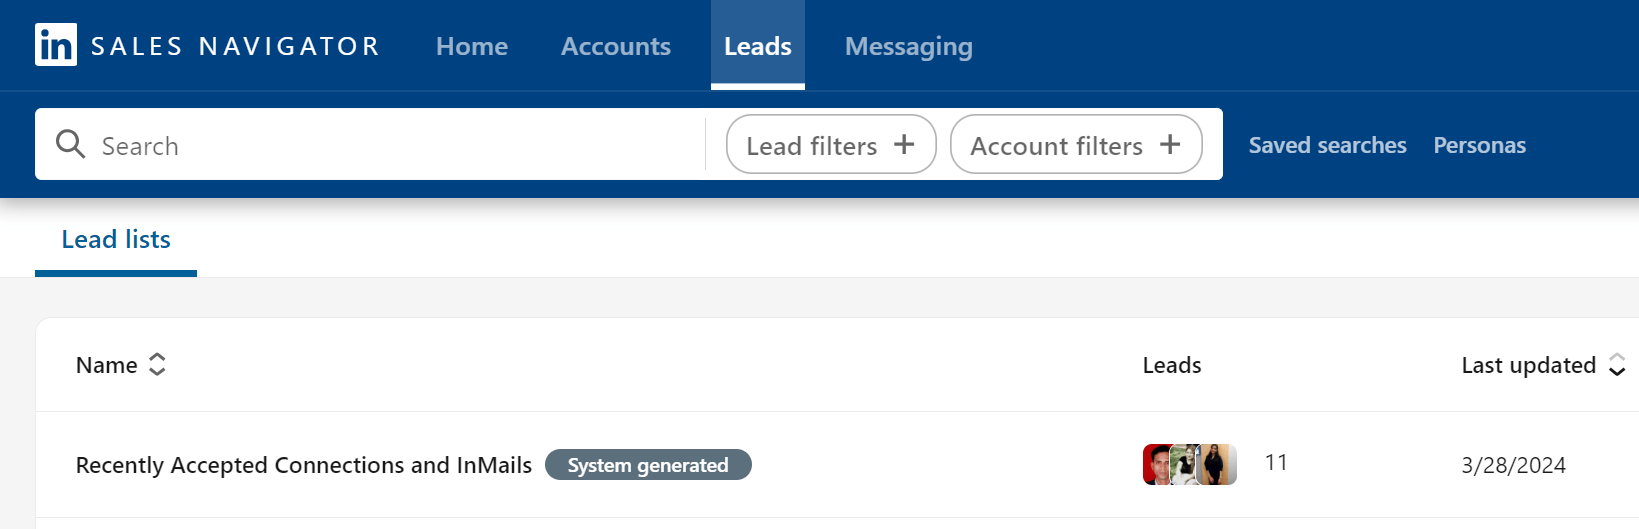
-
Copy the URL of that list from your browser tab.
-
Once you have that URL, you can paste it into your Skylead Leads List textbox:
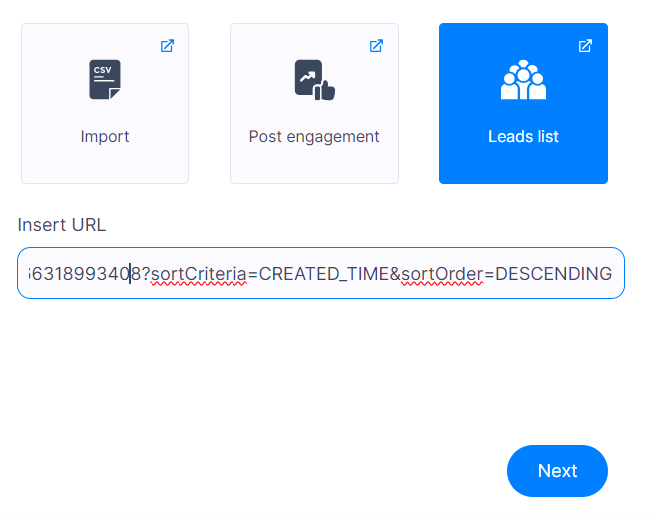
-
Click Next and then skip to the 'Designing your campaign steps' section of this tutorial below.
How to: Send prospects and messages from Koneksi
How this process is a little different
-
If you have loaded your prospects into Koneksi already, then you can load them directly from Koneksi into a Skylead campaign along with the personalised messages Koneksi has generated for them.
-
In order to be able to send them from Koneksi into your Skylead campaign, you need to first set up your campaign in Skylead. Once you have your campaign set up in Skylead, it will have a Skylead Campaign URL and a Skylead Authorization Header - both of which are keys that are needed to authorise and direct the loading of information from Koneksi to Skylead.
-
The best way to set up a campaign in Skylead is to use the 'Import' method above for just a single row csv. You can delete the prospect loaded as soon as the campaign is set up and saved.
-
Follow the Import steps above for one prospect, then follow the Designing your campaign steps below to set up your campaign.
-
Then, when your campaign is set up, you can follow these steps to import your prospects and personalised messages from Koneksi into that campaign.
Once you have set up and saved your campaign
- Once your campaign sequence is created and the campaign is saved, you can load it with prospects and messages from Koneksi, and configure the message steps to use your personalised messages
- In order to create the campaign in Skylead, you needed to import minimum 1 prospect, but now that the campaign is created, you can delete it. Open your campaign, click the select all checkbox and then use the Delete Lead(s) button on the bottom right of the prospects box:
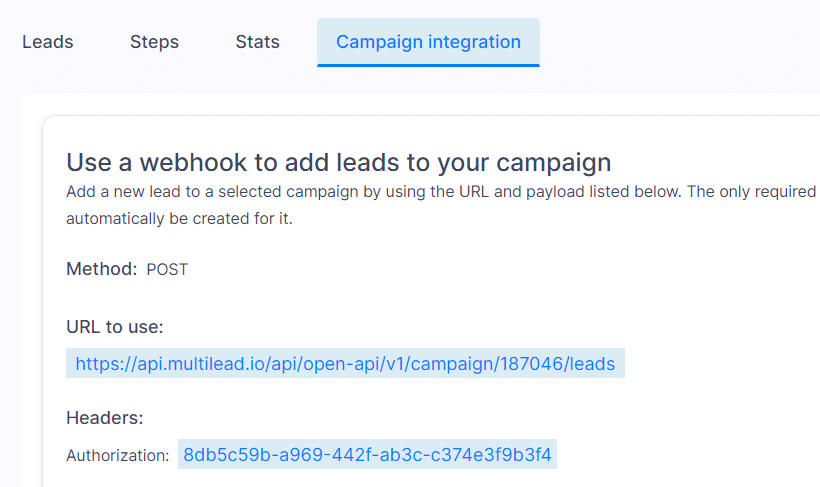
- Now tab over to the Campaign Integration tab for that campaign, and make a note of your Campaign URL and Authorisation Header:
-
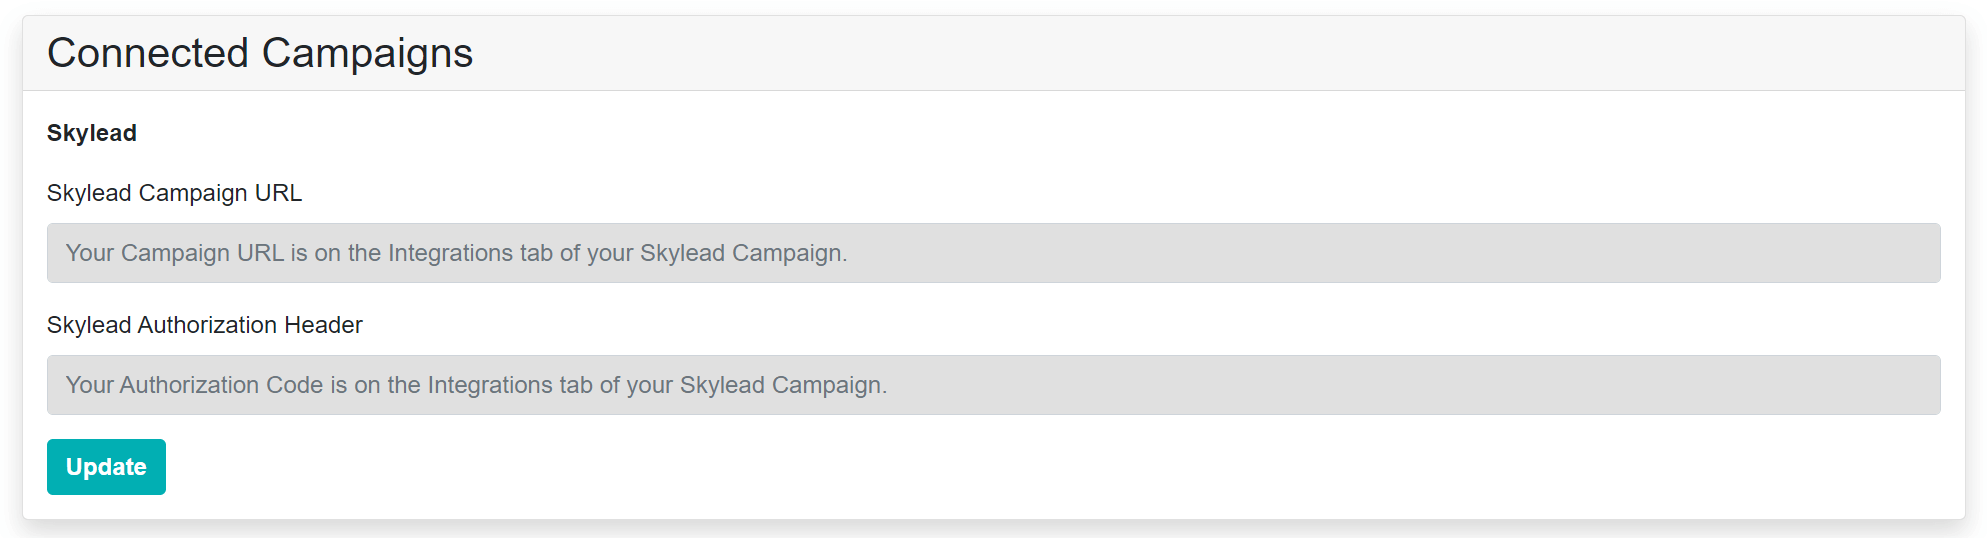
Those keys need to be saved into your Koneksi Manage Account page, so that Koneksi can load your prospects and messages into your Skylead campaign:
-
In Koneksi, head to Manage Account:
- And then paste your Campaign URL and Authorisation Header into the Connected Campaigns section on that Manage Account page:
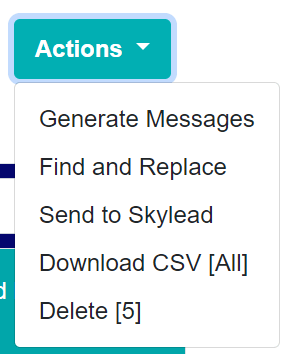
- Now head to your Prospects & Messaging tab in Koneksi, and select the prospects you want to load into Skylead, using the checkboxes.

- Then click the Actions button, and choose Send to Skylead:
- Confirm that your Skylead information is correct, in the pop-up, and then watch as your prospects and messages are sent over into Skylead:
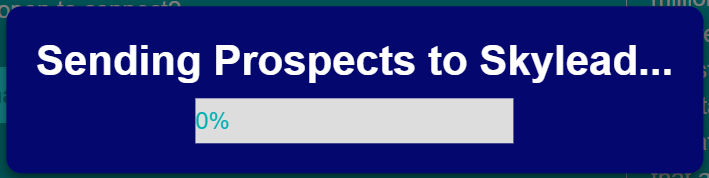
-
When the sending process has completed, the page will reload with a confirmation notice that your prospects have been sent to Skylead - highlighting any issues that may have occurred.
-
If you head back to Skylead, you'll now see your prospects in a list in your campaign Leads tab, and the total leads number will reflect the new leads you have loaded.
-
Before you activate your campaign there's one final step you need to complete: you need to update your message steps in your campaign sequence to use your personalised messages from Koneksi.
-
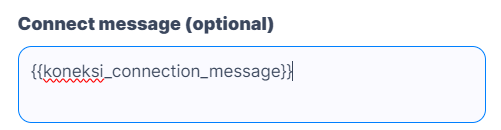
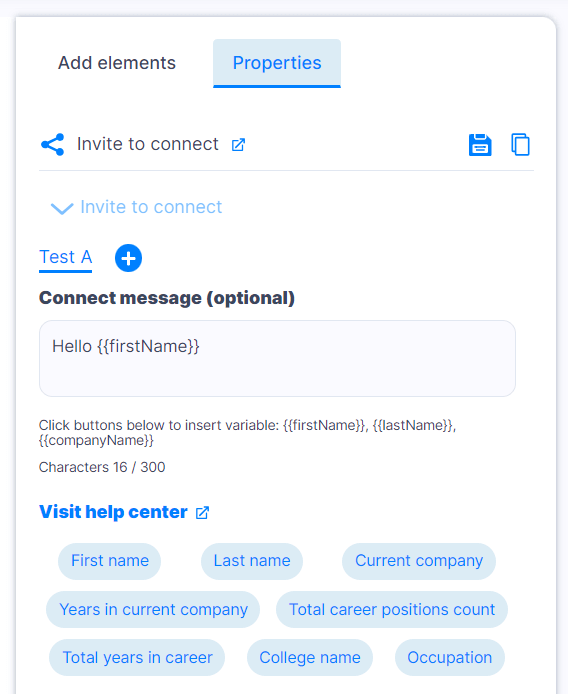
Head to the Steps tab, and choose LinkedIn Settings, scrolling down to see your sequence again. Clicking the Invite to Connect message, you'll now notice that the Koneksi variables are available in the Properties tab:
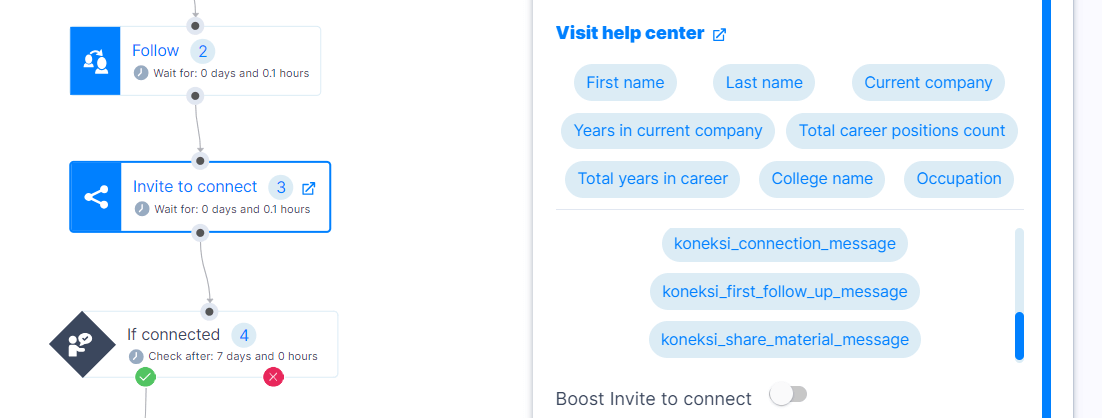
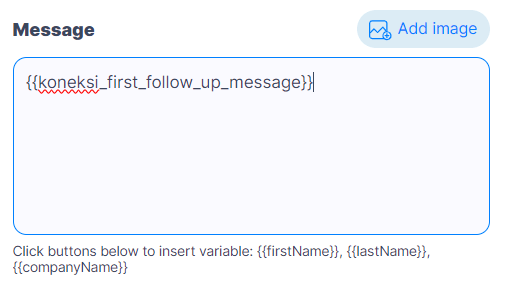
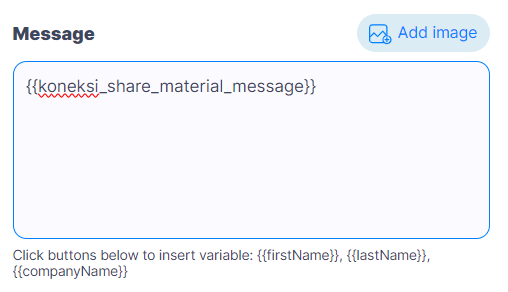
- Edit your connection request message to only contain the Koneksi connection request message variable - and do the same for the Follow-up Message and Share Material message.
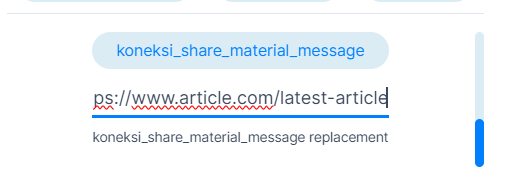
- And ensure that for each message, you have set some placeholder text for any prospect where no message was generated. This should not be the case, but even if all prospects have all personalised messages loaded, whenever you use variables, Skylead still needs this mandatory information to be completed in order to save the campaign (you'll notice that message boxes stay red otherwise). You'll find the replacement text placeholder line to write on underneath your custom variables list:
- Now that you've completed all configuration steps, you can Save Changes and reactivate your campaign to kick it off!
- Head to the final section of this tutorial now to read what happens next.
Designing your campaign steps
-
After you have completed the initial prospect load page, you come to this page.

-
Click down to LinkedIn Settings, and click Create Sequence. This is where you're going to start to choose the steps in your campaign that are executed for each prospect.
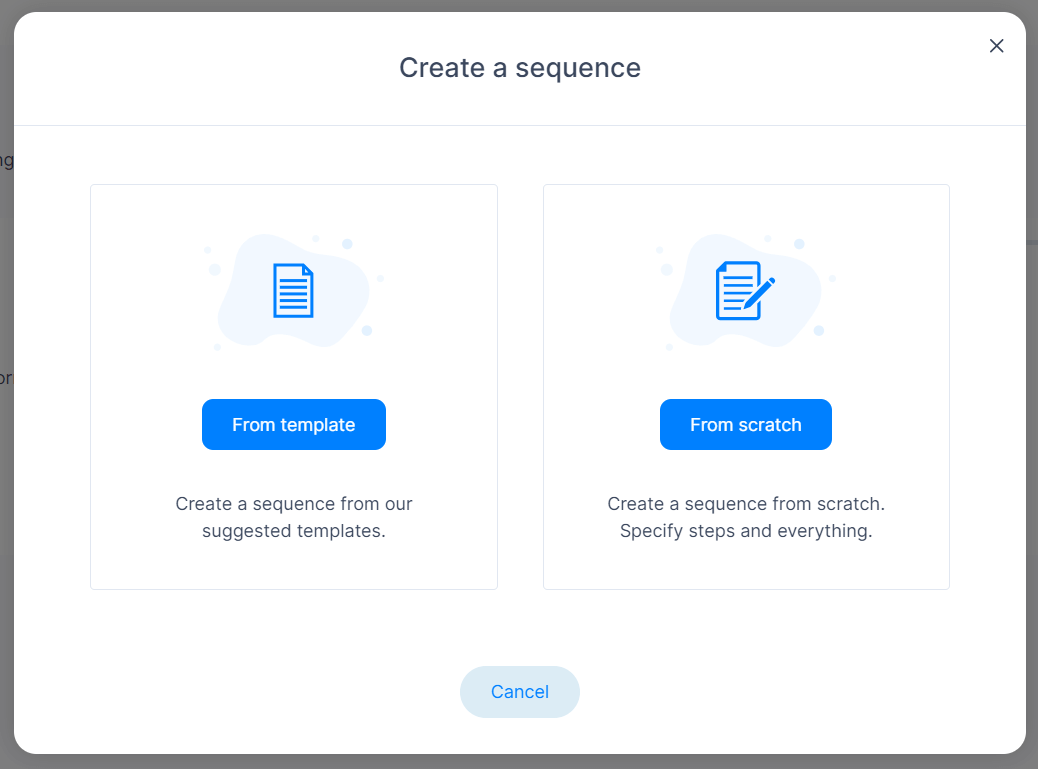
-
There are a number of standard sequence templates you can explore. But for this tutorial, we have a specific campaign sequence we want to configure. So we'll choose 'from scratch'. We'll be able to save the sequence we configure so that we can use it for another campaign in the future too - and at that point, it will show in the 'from template' section. So just this first time, click 'from scratch':
-
You'll land on this fresh sequence canvas, where you can start configuring the steps of your sequence:
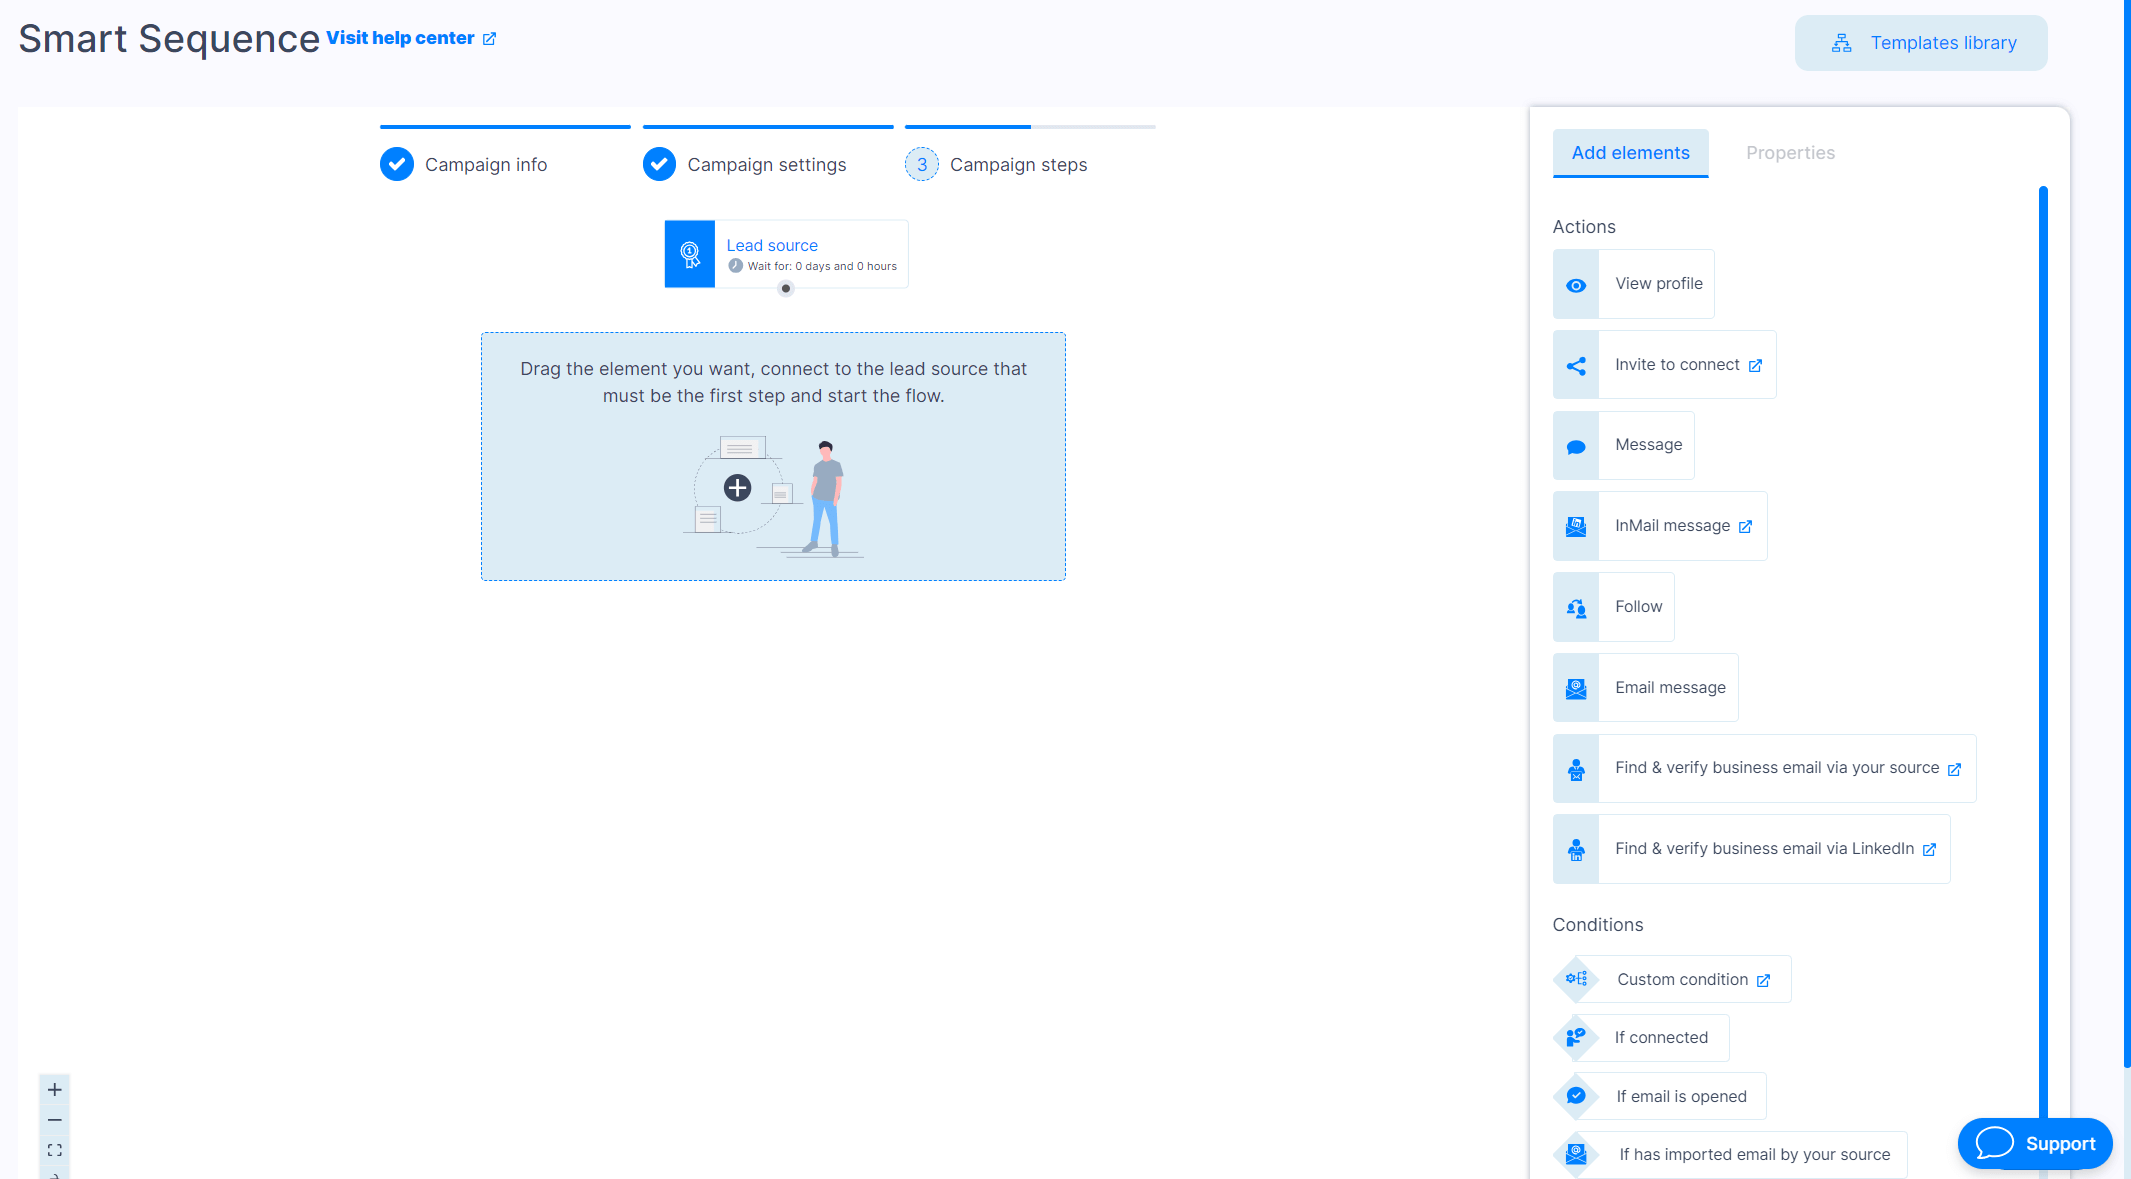
-
Use the drag and drop user interface to build out your sequence like this:
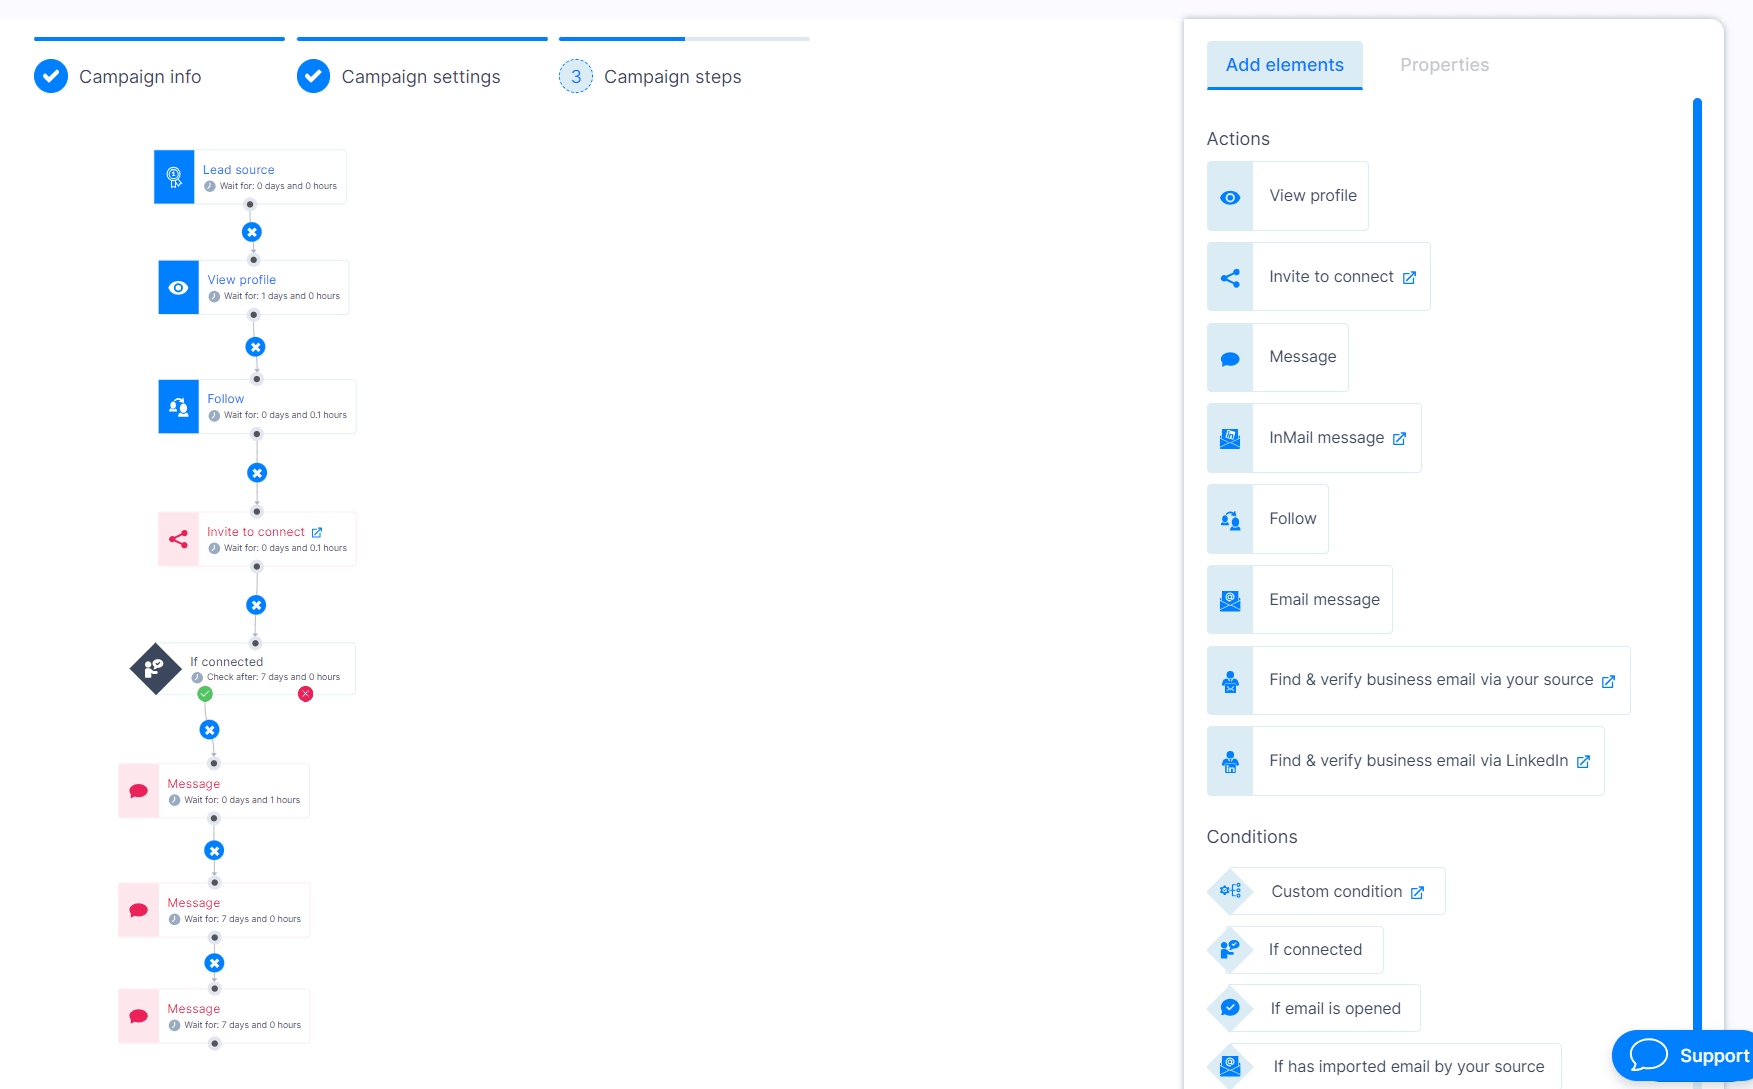
-
You can draw lines between the boxes by clicking the connector dot on one box and dragging your mouse to the next box.
-
You can configure the wait times by clicking on the appropriate box and configuring the settings of that box in the Properties panel on the right hand side of the screen.

-
For your message boxes, you'll need to configure which messages will be sent to your prospects. If you are going to be using personalised messages from Koneksi, just put some temporary text in the Properties panel for now, and we'll come back to this later. If any of the boxes in your sequence are red, you won't be able to save or use the sequence, so make sure you've configured those boxes in the Properties panel correctly.
-
For the last message, you can copy paste the text from Tutorial 4.
-
You can choose to use any of Skylead's standard dynamic variables by clicking the boxes below that text box - but be sure that your loaded information contains that data - and that that data is complete and accurate.
-
Once you are happy with your sequence, scroll to the bottom of the page (sometimes this requires you to move your mouse over to the left hand side of the screen so as not to zoom in and out of the canvas).
-
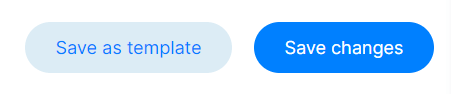
First, save your sequence as a template so that you don't have to build it again for the next campaign you run.
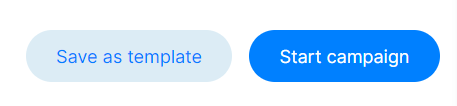
-
Then click 'Start campaign'.
-
Skylead will immediately mark that campaign as active. However, you are able to deactivate it immediately if you want to, using the toggle.
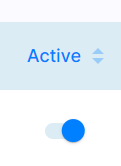
- If you are now going to load prospects and personalised messages from Koneksi, it's better to toggle the campaign to deactivate it while you now complete the prospect and message load process. Now head back up to the "How to: Send prospects and messages from Koneksi" section above to complete the relevant steps.
Clicking Start Campaign
- Now that your campaign is set up and started, the campaign will be active by default and will start to run according to your foundational settings.
- Note that it can take up to 1-2 working days to actually do anything (remember your working hours preferences and the warm-up mode).
- Over the coming days, connection requests and direct messages will be sent from your profile to your prospects. Volumes of requests and messages will be limited as per the daily limits configured in your foundational settings.
- Acceptances of your connection requests, and any responses from prospects will appear as usual on your LinkedIn profile as notifications - both on desktop and mobile. Keep your eye on those notifications, because it will be your responsibility to reply to any responses - the system will pause all further messages at the point of receiving a response.
- You'll have a sense of how the campaign is going from the notifications you receive. But it's important to monitor the overall results of the campaign using the statistics provided. We will cover that in the final tutorial.